 Save to Pinterest
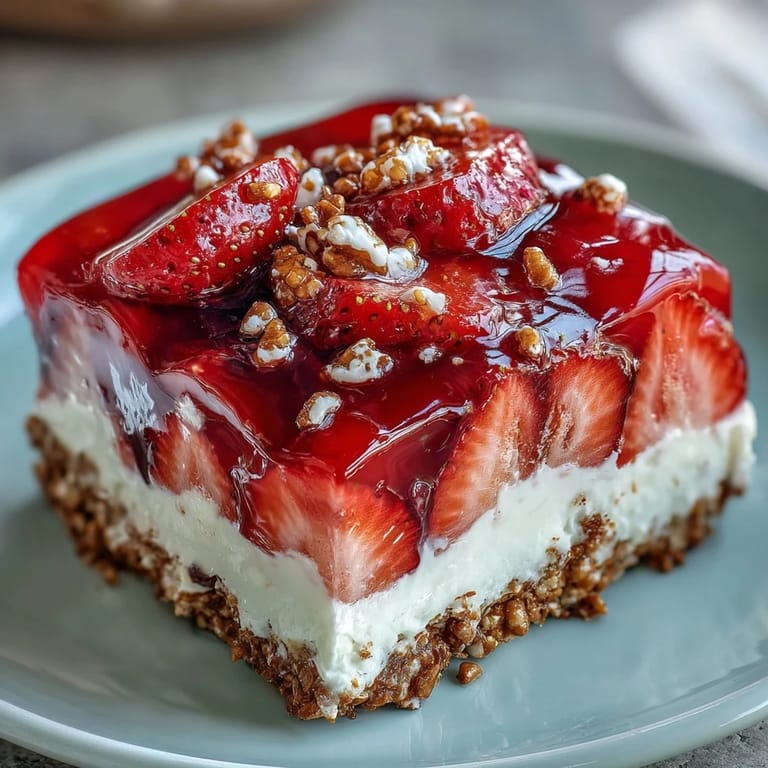
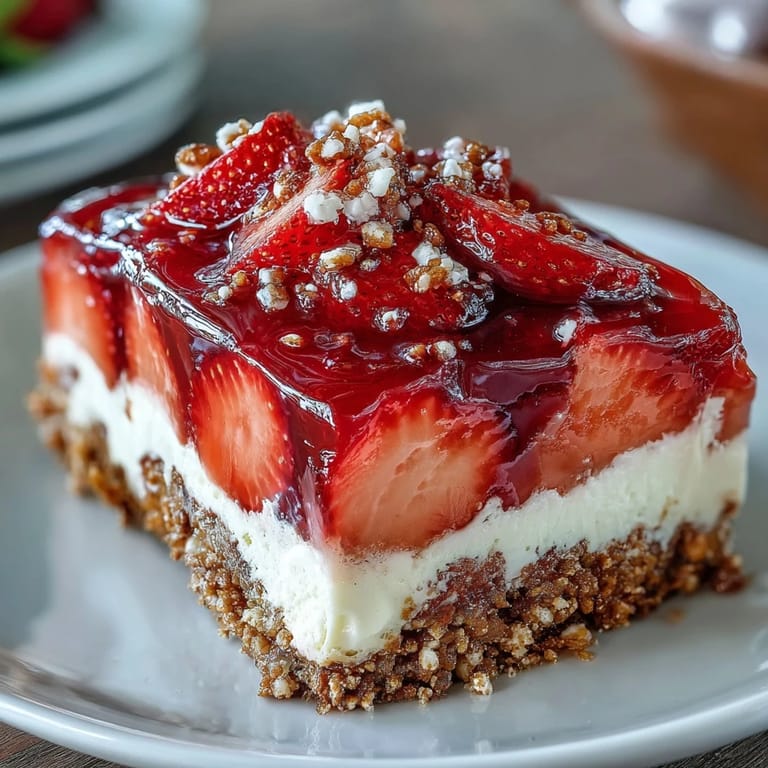
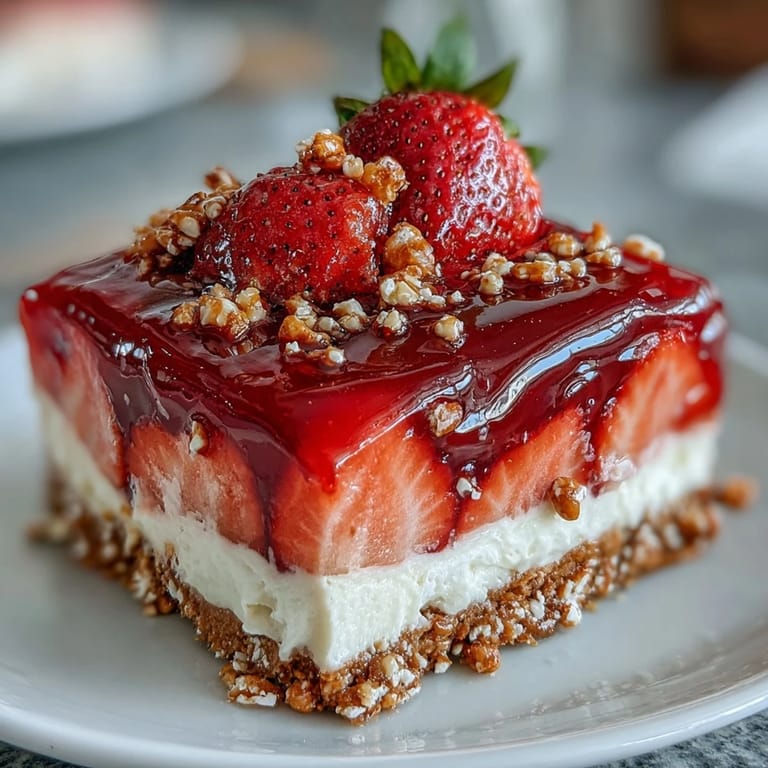
 Some recipes practically announce themselves with bright colors and wild applause at the table, and this Strawberry Pretzel Salad is one of those showstoppers. The first time I tried this dessert, the kitchen was filled with the snap and crackle of crushed pretzels, a sound that still brings a smile when I need to blow off a little steam. There’s something about the sweet-salty crust, creamy middle, and jewel-red berries on top that makes people instantly curious and just a little giddy. I never expected this unusual combination to become such a regular in my summer rotation, but now I can’t imagine a backyard party without it.
I still remember bringing this to a neighbor’s Memorial Day cookout, nervously hoping it would survive the car ride. As soon as I set it down, strangers became friends over which piece had the most strawberries, and the pan was nearly wiped clean before I finished my first glass of lemonade. I realized then that it wasn’t just about the look—it’s the way it invites people to gather around and share stories.
Ingredients
- Salted pretzels: These form the foundation, adding crunch and salty contrast—crush them but leave a few bigger chunks for extra texture.
- Unsalted butter: Holds the crust together and unlocks that golden bake, so be generous and let it cool a minute before mixing.
- Granulated sugar: Just enough to sweeten the crust and mellow the tang of the cream cheese layer—make sure it’s fully dissolved for a creamy finish.
- Cream cheese: Softened to room temperature, it blends smoothly and sets up a plush, tart center.
- Whipped topping (e.g., Cool Whip): This folds into the cream cheese mixture, creating a light, dreamy filling—thaw thoroughly for best results.
- Fresh strawberries: Choose the ripest berries you can find and slice them just before assembling so they stay bright and juicy.
- Strawberry-flavored gelatin: Essential for that gorgeous, jiggly top; let it cool to the right consistency so it wraps every berry just so.
- Boiling water: Make sure it’s truly boiling—otherwise, the gelatin won’t dissolve completely.
Tired of Takeout? 🥡
Get 10 meals you can make faster than delivery arrives. Seriously.
One email. No spam. Unsubscribe anytime.
Instructions
- Prep the oven and pan:
- Set the oven to 350°F and grab your biggest baking dish; a 9x13 inch is perfect here and gives the layers plenty of room.
- Crunch the pretzels:
- Use a plastic bag and a rolling pin for a stress-relieving crush—noise guaranteed—then mix with melted butter and sugar in a big bowl until every piece glistens.
- Build and bake the crust:
- Press the pretzel mix firmly into your pan, focusing on corners so no bite goes without crunch, then bake 10 minutes and allow to cool while you whip the filling.
- Create the cream cheese layer:
- Beat softened cream cheese and sugar together until light and fluffy, then fold in the whipped topping gently for a cloud-like texture.
- Spread and seal:
- Spoon the creamy mixture over the cooled crust, smoothing all the way to the edges—this barrier keeps the layers neat when serving.
- Chill and set:
- Pop the pan into the fridge for 30 minutes; this makes the next step far less messy.
- Mix the gelatin:
- Dissolve the gelatin thoroughly in boiling water, then let it cool until it thickens just enough to cling to the berries without soaking through the cream.
- Arrange strawberries:
- Scatter the sliced strawberries generously atop the cream cheese layer, covering every available patch.
- Pour and chill:
- Slowly pour the cooled gelatin over the strawberries, tilting the pan as needed for an even layer, then chill the whole thing for at least 4 hours until set.
- Slice and serve:
- Cut into generous rectangles and serve cold, straight from the fridge, for maximum summer joy.
 Save to Pinterest
  Save to Pinterest
 One afternoon, I caught my niece sneaking back for a second slice, cheeks pink, and we ended up sharing stories about our favorite toppings—her vote was extra strawberries, mine was a hint of lemon zest on the cream layer. Sometimes a single bite turns a casual dessert into a sweet memory you keep coming back to.
Making It Ahead for Parties
I discovered early on that this dessert actually improves if you assemble it the night before—the crust stays crisp and the flavors meld beautifully. It’s a true lifesaver when you want something spectacular but need to pull out the dish in a flash when friends arrive.
How to Avoid a Soggy Crust
After wrestling with soggy bottoms a few times, I learned to let the crust fully cool before adding anything creamy—rushing this step almost guarantees disappointment. A careful, slow spreading of the cream cheese all the way to the edges does more than just look neat; it locks in the crunch beneath.
Fun Ways to Switch It Up
The classic strawberry version will always be beloved, but I can’t resist swapping in raspberries or using blueberry gelatin when the mood strikes—it's a foolproof flavor playground. Tiny mint leaves or a sprinkle of lemon zest on top make it feel instantly fancy with almost no effort.
- Switch to gluten-free pretzels for guests with allergies.
- Pair slices with sparkling rosé to lift the berry flavors.
- Don’t skip the full chill—this is when the magic really happens.
 Save to Pinterest
  Save to Pinterest
 If you try this, I hope it gives you the same little rush of kitchen pride and festive summer joy I found—here’s to every crunchy, creamy, berry-bright bite.
Recipe FAQs
- → How do I stop the gelatin from leaking into the crust?
Make sure the cream cheese layer fully reaches the edges and is evenly spread to seal the crust. Chill that layer for 20–30 minutes before adding strawberries and gelatin so it firms up and acts as a barrier.
- → Can I use frozen strawberries instead of fresh?
Frozen berries can be used if fully thawed and well drained. Pat them dry to remove excess moisture; too much liquid can prevent the gelatin from setting properly and make the topping soggy.
- → How long should I refrigerate for best results?
Refrigerate for at least 4 hours to ensure the gelatin is fully set. For cleaner slices and firmer texture, chill overnight.
- → Can this be made ahead of time?
Yes. Assemble and chill the salad up to 24 hours in advance. Keep it covered in the refrigerator to maintain freshness and prevent the crust from absorbing moisture.
- → How can I make a gluten-free version?
Substitute regular pretzels with certified gluten-free pretzels and follow the same crust method. Confirm any whipped topping or other packaged ingredients are labeled gluten-free.
- → What’s the best way to slice and serve it?
Use a sharp knife warmed briefly in hot water and wiped dry between cuts for clean slices. Chill well before slicing and serve chilled; pairs nicely with sparkling rosé for gatherings.