 Save to Pinterest
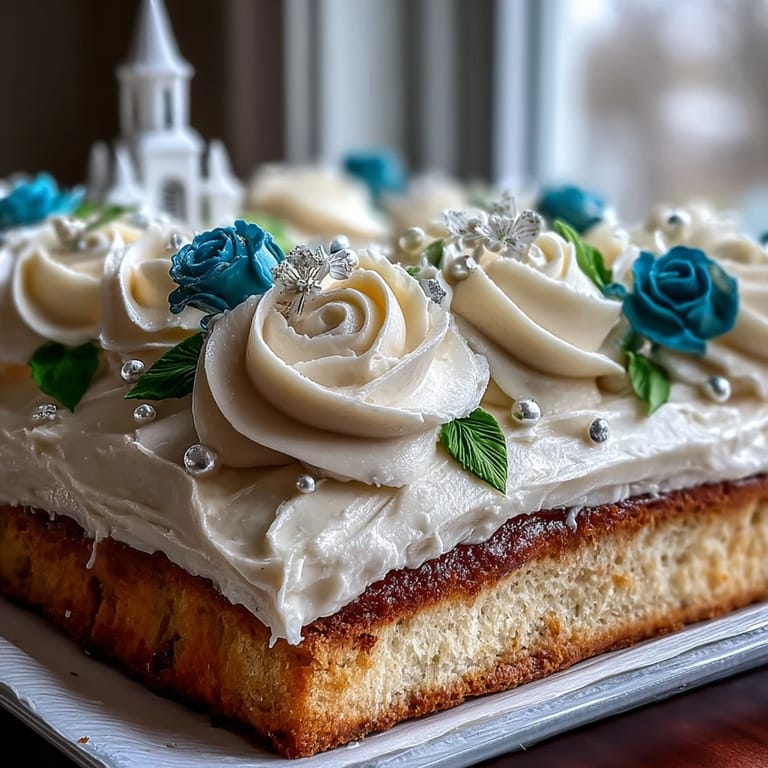
 Some recipes feel like a miniature celebration coming to life, and a graduation sheet cake is one of those rare joys. Last spring, while music and chatter filled the kitchen, I attempted my first buttercream roses—my hands sticky, the piping bag a bit too full, the air tinged with vanilla and powdered sugar. The sound of laughter seemed to echo off every corner as I hemmed and hawed over how perfectly imperfect those edible blooms turned out. There is something quietly thrilling about combining the gravitas of a milestone with generous layers of sweetness, color, and care. Each swirl and flourish becomes a different kind of toast to the accomplishment in the room.
When my cousin graduated, the whole family insisted on 'just a little taste' while I was still smoothing the final buttercream layer. My nephew kept sneaking into the kitchen, eyes wide at the stacks of colored bowls and the diploma taking shape, his whispers promising to remember this cake long after his cap and gown.
Ingredients
- All-purpose flour: The sturdy backbone—sift it well for a fine, light crumb suitable for tall sheet cakes.
- Granulated sugar: Sweetness you can rely on, and creaming it with softened butter ensures a fluffy base.
- Unsalted butter: Critical for flavor; always soften fully for ease in creaming, and use high quality for the best taste in both cake and buttercream.
- Whole milk: Room temperature is non-negotiable—too cold, and your batter may split.
- Large eggs: Bring to room temp so they blend smoothly, giving the cake structure and moisture.
- Vanilla extract: The soul of classic American desserts—I use a splash more for aroma, especially in milestone cakes.
- Baking powder: Gives the lift you need for a proud, sliceable cake.
- Salt: Tiny but mighty—it balances the sweetness and perks up all the flavors.
- Powdered sugar: Sifted to avoid clumps, it creates lusciously smooth buttercream you can spread or pipe.
- Food coloring (gel): Makes vibrant, mess-free colors—start with a toothpick to build shades slowly.
- Fondant or white chocolate: Luxe but optional—sculpted into a diploma, it earns bonus points for creativity.
- Edible pearls: Not essential, but they twinkle on top, perfect for a show-stopping finish.
Tired of Takeout? 🥡
Get 10 meals you can make faster than delivery arrives. Seriously.
One email. No spam. Unsubscribe anytime.
Instructions
- Prep the oven & pan:
- Set the oven to 350°F (175°C), then line your 12x18-inch pan with parchment and a thin slick of butter—the rustle of paper tells you you're ready for celebration.
- Cream butter and sugar:
- With your mixer humming, blend softened butter and sugar until pale and airy, about 3 minutes; the kitchen should begin to smell like happiness itself.
- Add eggs and vanilla:
- Drop in eggs one at a time, beating gently, then stir in all that fragrant vanilla—pause for a taste if you can't resist.
- Combine dry ingredients:
- In another bowl, whisk flour, baking powder, and salt, feeling for that silky texture between your fingers.
- Blend wet and dry mixtures:
- Mix in the dry ingredients in thirds, alternating with milk; start and end with flour, and stop mixing the moment there are no streaks left.
- Pour and smooth:
- Spread the batter evenly into your pan—swiping with an offset spatula turns this step into a little meditation.
- Bake:
- Let it bake for 28–32 minutes, your kitchen filling with the universal language of celebration; test with a toothpick for doneness.
- Cool completely:
- Rest in the pan briefly, then move the cake onto a rack to cool—patience now makes decorating a breeze.
- Make buttercream:
- Beat butter until cloud-like, then add sifted powdered sugar, vanilla, and milk, mixing until impossibly fluffy—taste and adjust as needed.
- Color the buttercream:
- Divide the frosting, tinting small bowls with gels for roses, leaves, and diploma details; the magic begins as colors deepen.
- Frost the cake base:
- Smooth a generous layer of white buttercream over the cake, working swiftly for that perfect blank canvas.
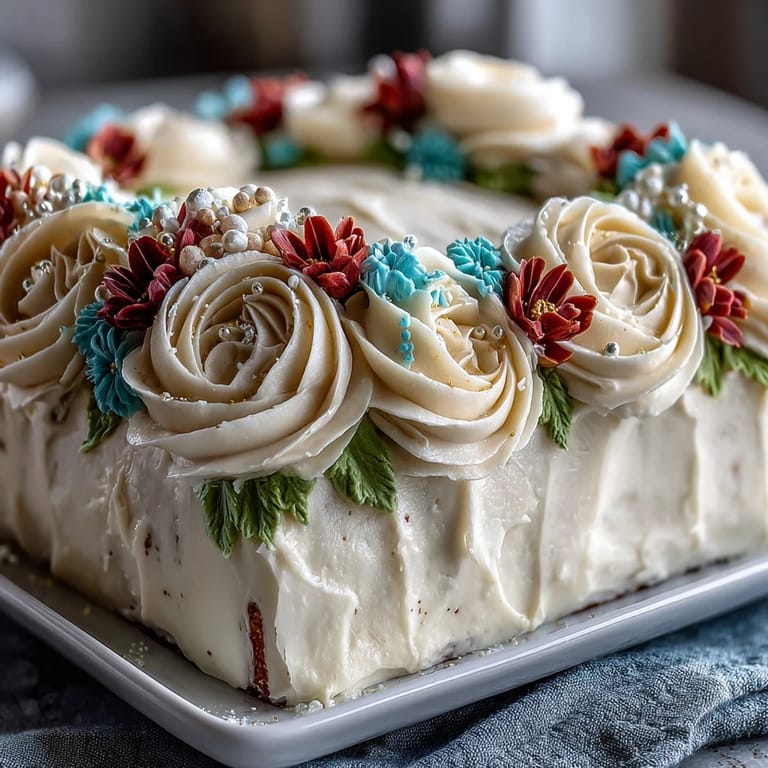
- Pipe roses and leaves:
- With a piping bag and rose tip, swirl buttercream blooms, then add green leaves—a little practice and every flower is unique.
- Add diploma and accents:
- Shape fondant or chocolate into a mini diploma, tie with fondant ribbon, and nestle it atop; sprinkle pearls for a subtle gleam.
 Save to Pinterest
 Handing the first slice to my grinning niece—who immediately picked off the roses—felt like gifting her a medal made of sugar. Suddenly, every congratulatory speech in the room faded, and it was just the happy crinkle of parchment, the aroma of cake, and the sticky fingers of a little graduate.
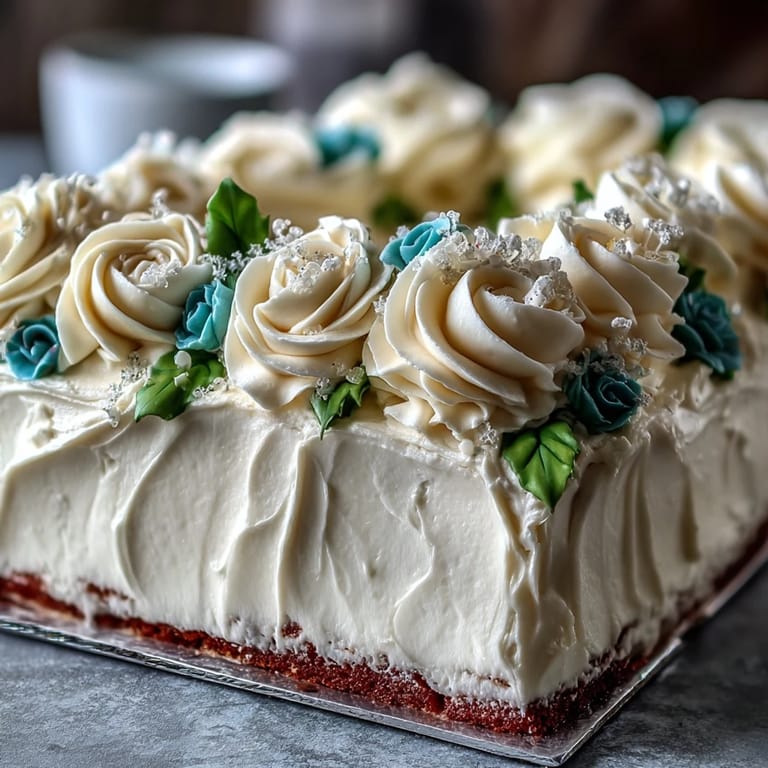
How to Make Buttercream Roses (Even If Yours Aren’t Perfect)
The key is steady hands and a little grace for yourself—my first roses were more like cheerful blobs than flora, but a few practice swirls and suddenly they bloomed. Work with buttercream that’s just soft enough to hold shape but not so chilled it’s hard to pipe. The cool side of the kitchen helps on warm afternoons, especially with nervous hands around graduation time. When the petal edges ruffle slightly, I know I’ve hit the sweet spot for consistency. And for every rose that flopped, there were two more that earned genuine compliments.
Kitchen Tools You’ll Want on Deck
An offset spatula makes smoothing the top oddly satisfying, while sturdy piping bags give you confidence for big celebrations. Extra piping tips (especially a backup leaf tip) stop any frazzled last-minute wash-ups in their tracks. I keep a bowl of warm water nearby to clean tips between colors, so each rose and leaf has its moment to shine. Parchment paper strips tucked under the cake edge catch any stray smears and peel away for a crisp reveal.
Decorating Secrets for a Showstopper Graduation Cake
Personalize with graduation year or school colors—dabbing on more gel color in small amounts lets you mix custom shades. Sparkling edible pearls or a few bold sprinkles add more texture and make the cake shimmer under the lights. Don’t overthink the diploma; even a loosely rolled fondant scroll looks charming with a makeshift ribbon. Enjoy the little imperfections, because those memories will last longer than any photo.
- Add extra piping bags so switching colors stays tidy.
- A little cornstarch helps sticky fondant behave.
- Don’t start decorating until the cake is completely cool.
 Save to Pinterest
 Whether it’s laughter echoing or quiet pride, every swirl of buttercream turns this cake into a memory. Here’s to all the grads—and all the cake artists in training who make each celebration a little sweeter.
Recipe FAQs
- → What size pan should I use?
A 12x18-inch sheet cake pan is ideal for achieving even layers and serving a crowd.
- → How do I make buttercream roses?
Pipe colored buttercream using a rose tip, swirling to create petals. Practice on parchment before decorating the cake.
- → Can I personalize the cake colors?
Absolutely! Use gel food coloring to tint buttercream and fondant to match the graduate's school colors.
- → Is it possible to make the cake ahead?
You can bake the cake and prepare buttercream in advance. Assemble and decorate shortly before serving for freshness.
- → Are there alternatives for the diploma decoration?
Shape fondant, white chocolate, or even a thin piece of rolled cookie dough into a scroll for an edible diploma effect.
- → Is this dessert vegetarian-friendly?
Yes, the cake and buttercream use no meat or gelatin. Always check food colorings for animal-derived ingredients.