 Save to Pinterest
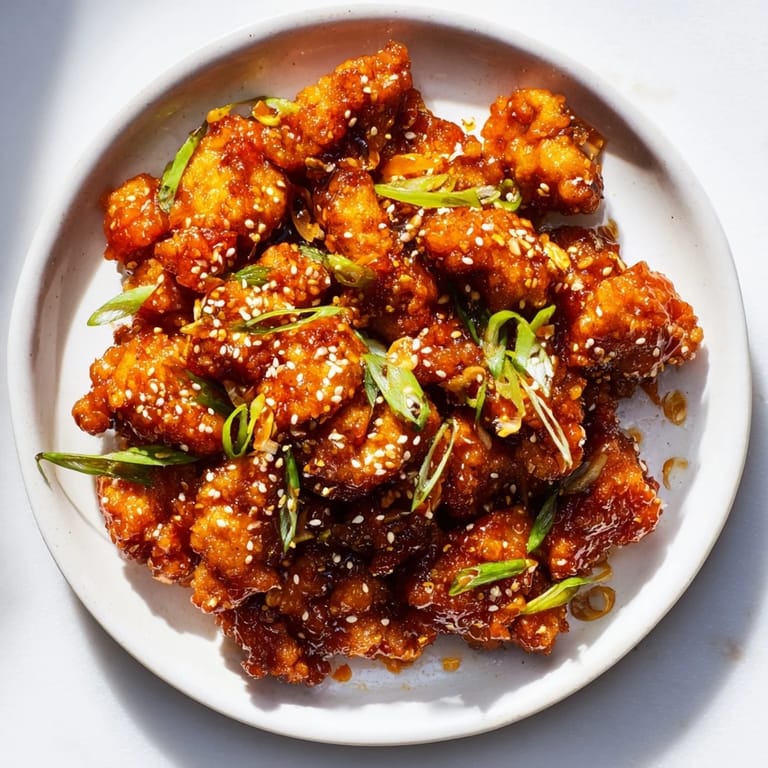
 The first time I made orange chicken at home, I was standing in my kitchen on a rainy Tuesday evening, armed with nothing but a craving and a vague memory of takeout containers. I'd eaten this dish dozens of times, always ordering it from the same place down the street, but I'd never thought to recreate it. Something about the smell of fresh orange zest that night—bright and almost electric—made me think I could actually pull this off. Turns out, crispy fried chicken bites swimming in that glossy, tangy sauce aren't nearly as mysterious as they seem.
I made this for my sister when she came over stressed about work, and watching her face light up after that first bite made me realize food really does hit differently when you've made it yourself. She kept asking if I'd messed something up because it tasted exactly like the restaurant version—maybe even better, because it was still warm and the chicken hadn't gotten that slightly rubbery texture from sitting in a delivery bag.
Ingredients
- Boneless, skinless chicken thighs (600 g): These stay tender and juicy when fried, way more forgiving than breasts which can dry out if you're not watching carefully.
- Eggs (2 large): Your binding agent—whisk them well so you get an even coating on every piece.
- Cornstarch (60 g) and all-purpose flour (60 g): The cornstarch is the secret to that shatteringly crisp exterior, so don't skip it or substitute it.
- Salt and black pepper: Season your dredging mixture generously; this is where most of your flavor comes from before the sauce even touches the chicken.
- Vegetable oil for frying: Use something neutral—canola or peanut oil both work beautifully and won't overpower the citrus.
- Fresh orange juice (180 ml from about 2 oranges): This is the heart of the sauce, so use actual oranges, not the concentrate from a bottle.
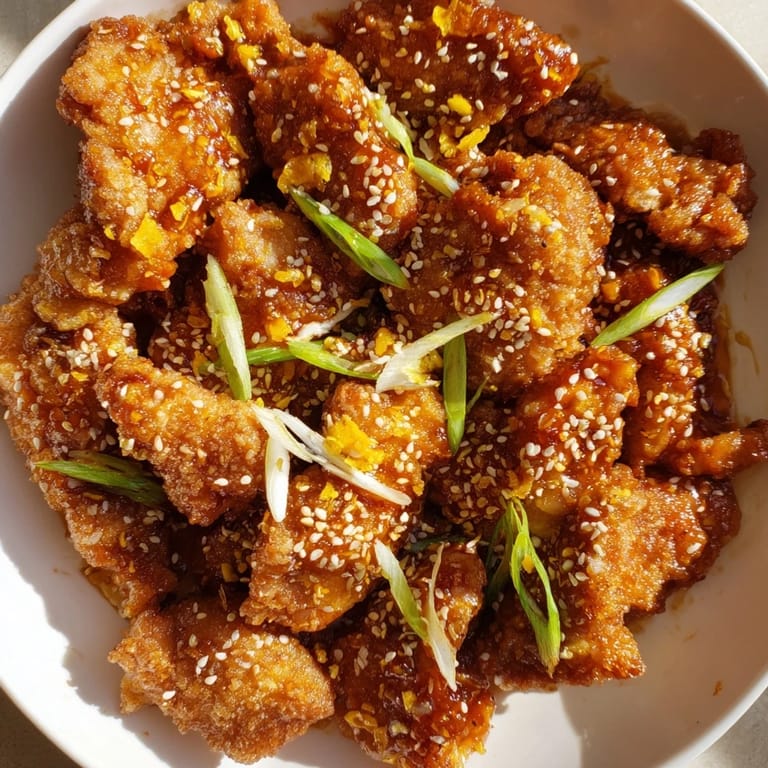
- Orange zest (2 tbsp): This gives you those little bursts of intense citrus flavor that make people ask what your secret is.
- Soy sauce (60 ml): Choose a good quality one if you can; cheaper versions taste thinner and more chemical-y.
- Granulated sugar (60 g): Balances the salty and sour notes, creating that addictive sweet-tangy thing that keeps you reaching for more.
- Rice vinegar (2 tbsp): Adds brightness without the harshness of regular white vinegar.
- Hoisin sauce (1 tbsp): This deepens the sauce with umami and a subtle fermented richness.
- Garlic (2 cloves, minced) and fresh ginger (1 tsp, grated): Aromatic foundations that wake up the whole dish.
- Crushed red pepper flakes (1/2 tsp, optional): Add just a whisper of heat if you want, or skip entirely if you prefer pure sweetness.
- Cornstarch slurry (1 tbsp cornstarch mixed with 2 tbsp water): This thickens the sauce to that glossy, clingable consistency.
- Spring onions and sesame seeds for garnish: These add a fresh crunch and visual pop at the end.
Tired of Takeout? 🥡
Get 10 meals you can make faster than delivery arrives. Seriously.
One email. No spam. Unsubscribe anytime.
Instructions
- Set up your dredging station:
- Whisk your eggs in one shallow bowl until they're uniform, then mix cornstarch, flour, salt, and pepper in another. Line up your bowls and a plate for the coated pieces—assembly-line style makes this go faster and keeps your hands from getting completely covered in egg.
- Coat the chicken pieces:
- Take each piece of chicken, dunk it fully into the egg so it's slick all over, then immediately roll it in the flour mixture, pressing gently so the coating clings. The key here is commitment—don't half-dip it, make sure every surface gets touched.
- Get your oil ready:
- Pour about 4 cm of oil into your deep skillet or wok and heat it over medium-high heat until it reaches 175°C (350°F). If you don't have a thermometer, test with a small piece of the flour mixture—it should sizzle immediately but not blacken.
- Fry in batches:
- Working with about a quarter of the chicken at a time, carefully lower the pieces into the hot oil and let them fry for 4–5 minutes, turning occasionally with tongs so they brown evenly. You'll hear a loud sizzle at first, then it'll settle into a gentle crackling sound. Once they're deep golden, transfer them to paper towels to drain.
- Build the sauce:
- In a saucepan, combine your orange juice, orange zest, soy sauce, sugar, rice vinegar, hoisin, minced garlic, ginger, and red pepper flakes. Bring it to a gentle simmer over medium heat, stirring occasionally until the sugar dissolves and you can smell that gorgeous citrus aroma filling your kitchen.
- Thicken the sauce:
- Give your cornstarch slurry a quick stir to make sure it's not separated, then slowly pour it into the simmering sauce while whisking constantly. Cook for 1–2 minutes until the mixture turns glossy and coats the back of a spoon.
- Bring it all together:
- Add all your fried chicken to the sauce and toss gently so every piece gets coated in that beautiful glaze. Let it warm through for about 2 minutes, then transfer everything to a serving platter and finish with sliced spring onions and a sprinkle of toasted sesame seeds.
 Save to Pinterest
 There's something almost magical about watching someone taste this for the first time and realize they don't need to order from a restaurant anymore. My neighbor came over once and asked if I'd gotten this delivered, genuinely convinced I'd cheated somehow.
Getting the Chicken Perfectly Crispy
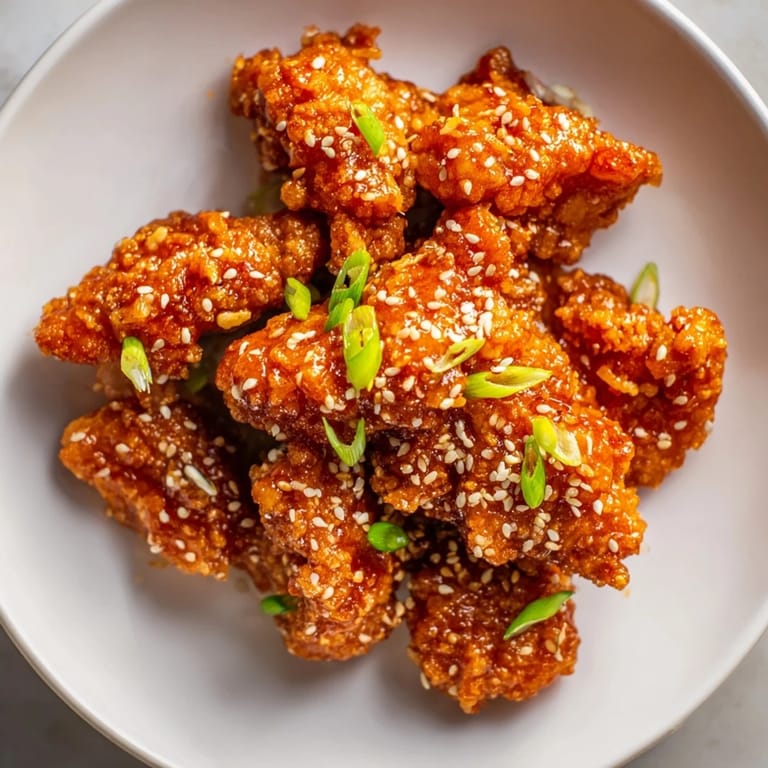
The difference between good orange chicken and great orange chicken comes down to that outer crust. I learned the hard way that if you rush the coating or make pieces too large, you end up with undercooked interiors or burnt exteriors. The bite-sized pieces are intentional—they fry quickly and evenly, and they're also just the right size for dipping, which matters more than you'd think when you're sitting there eating straight from the platter.
The Sauce Balance
The beauty of this sauce is that it's actually forgiving once you understand its logic. It needs acid (orange juice and vinegar), sweetness (sugar), salt (soy sauce), and umami (hoisin). If your sauce tastes too sharp, add a pinch more sugar. If it's too sweet, a tiny splash more vinegar or soy sauce fixes it. I once made a batch that was way too thick because I didn't measure my slurry correctly, but I just thinned it with another tablespoon of orange juice and it came right back into balance.
Serving and Storage
This dish is best served immediately while the chicken is still crispy on the outside—the sauce will start to soften it if it sits too long, which isn't necessarily bad, just different. For leftovers, store the chicken and sauce separately in the fridge for up to three days, then reheat gently on the stovetop or in a low oven.
- Serve this over jasmine rice or fried rice to catch every drop of that glorious sauce.
- If you want to lighten things up, try baking the chicken at 220°C (425°F) for 20–25 minutes instead of frying—it won't be quite as dramatic, but it's still delicious and a lot less oil.
- A side of steamed broccoli or stir-fried peppers adds color and cuts through the richness beautifully.
 Save to Pinterest
 This recipe has quietly become one of my most-made dishes, the kind you return to when you want something that feels indulgent but still manageable. It's proof that restaurant favorites aren't locked behind kitchen doors—sometimes they just need a little orange zest, good timing, and the willingness to try.
Recipe FAQs
- → What is the best cut of chicken to use?
Boneless, skinless chicken thighs provide a tender and juicy texture ideal for this preparation.
- → How can I achieve a crispy coating?
Dredging chicken in a mixture of cornstarch and flour before frying creates a light, crispy crust.
- → Can I make the sauce less sweet or spicy?
Adjust the sugar for sweetness and omit or reduce crushed red pepper flakes to control the heat level.
- → Is frying necessary or are there alternatives?
Baking the coated chicken at high heat offers a lighter alternative while maintaining crunchiness.
- → What sides pair well with this dish?
Steamed jasmine rice, fried rice, or sautéed vegetables complement the flavors and textures nicely.